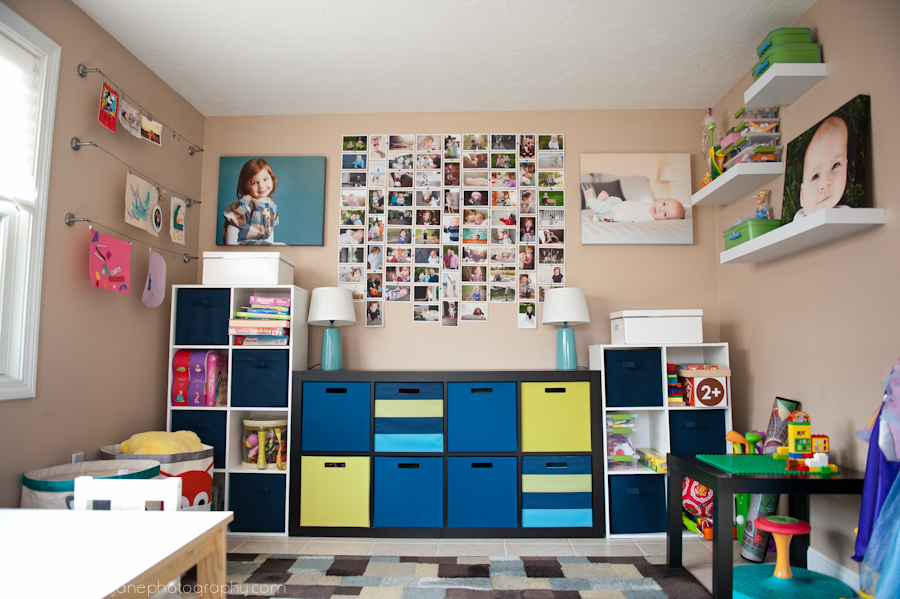
Like many other photographers I know, I am terrible at printing personal photos. They all just sit on my computer, on my hard drives, and online, and that’s about it. Many of my clients also purchase the digital files from their photo sessions, and I wonder if they (you!) are printing their photos or not – I hope you are! I vowed this year that I would print more of our personal photos, both for hanging on walls in our home, and in albums. I haven’t gotten to the albums just yet, but I completed a photo wall in the kids’ playroom last night, and wanted to share.
 I found my inspiration for the wall on Pinterest, where I manage to lose myself at least once a day. A lot of you follow me on there, so you know how easy it is to spend hours looking for recipes, clothes, new ways of organizing the house, beautiful photography to be inspired by, etc. Pinterest has been a driving force in my new quest for organization at home and in my business, I love it!
So first, I ordered the photo clips that would keep the central photo collage together. These are available on Photojojo. (They’re not paying me in any way to link to them. I paid for the clips and everything else here.) I also ordered the prints – 4×6 prints in deep matte paper, which I prefer over the standard glossy photo paper. I added a white border to all of the prints while ordering from my lab, to kind of frame each image, and put some separation between images. I didn’t order a set amount of prints, I just ordered what I liked at the time. I figured I could add more later, or not use them all if I had too many. I think there are around 75 images here. I also bought thumbtacks at Target, that I used to hang the whole wall. I just grabbed whatever Target had at the time, you can use anything really. There is a little hole in the middle of each photo clip that the thumbtack goes into.
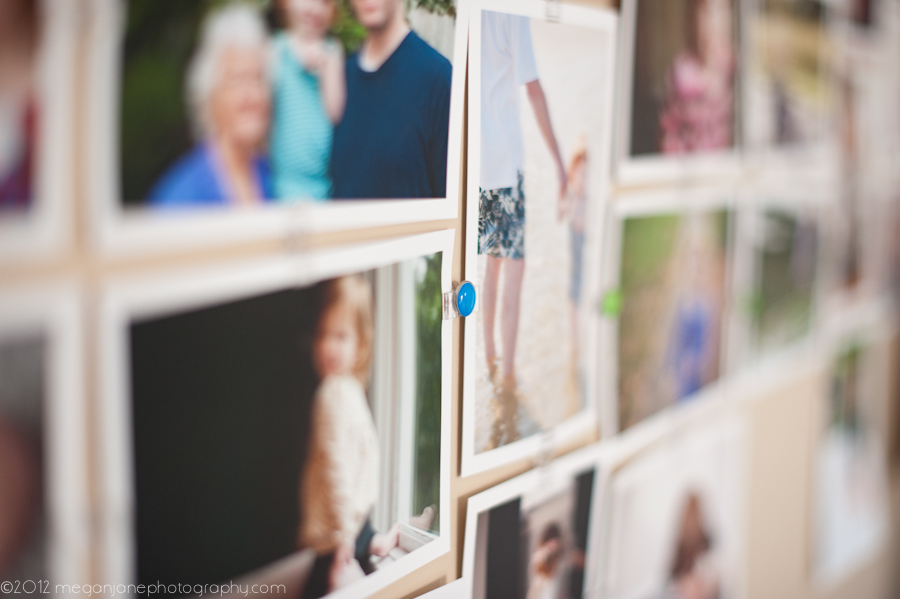
I began assembling the photos by making strips of horizontal photos and strips of vertical photos. I just eyeballed the space over the organizer (Ikea Expedit) and starting laying them out. I knew that I wanted the wall to be large in scale, and I knew I wanted to separate the horizontal & vertical images a little bit, instead of trying to fit them together like a puzzle. I don’t have the patience for that. 🙂 I’ve also seen this done with only horizontal images, for a more streamlined look. There is no rhyme or reason to how the photos are laid out. They’re not in any order, and there are color and black & white images mixed together.
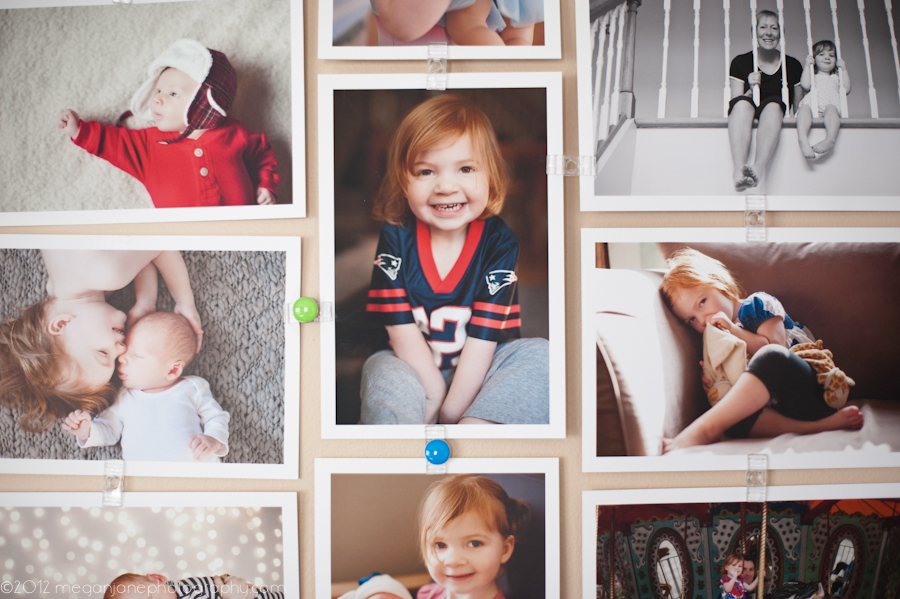 Once I had about 7 strips created, I began hanging them. I started in the middle with a vertical strip, and added horizontal ones to either side, two on each side. I used a thumbtack to hang the strip from the top, and then went down and clipped the photos to each other. I’m not going to lie, clipping the strips together on the wall was kind of a pain. I’m a perfectionist, so I kept trying to get the photos to lay exactly right…but I gave that up after a bit, because I was driving myself crazy. I added another thumbtack every other clip or so – I didn’t use one in each photo clip, I didn’t see the need.
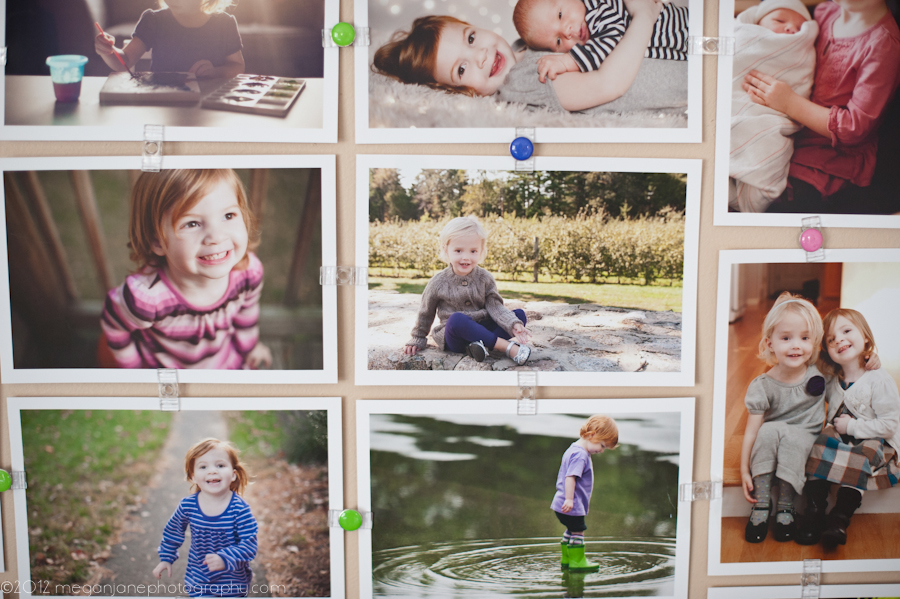
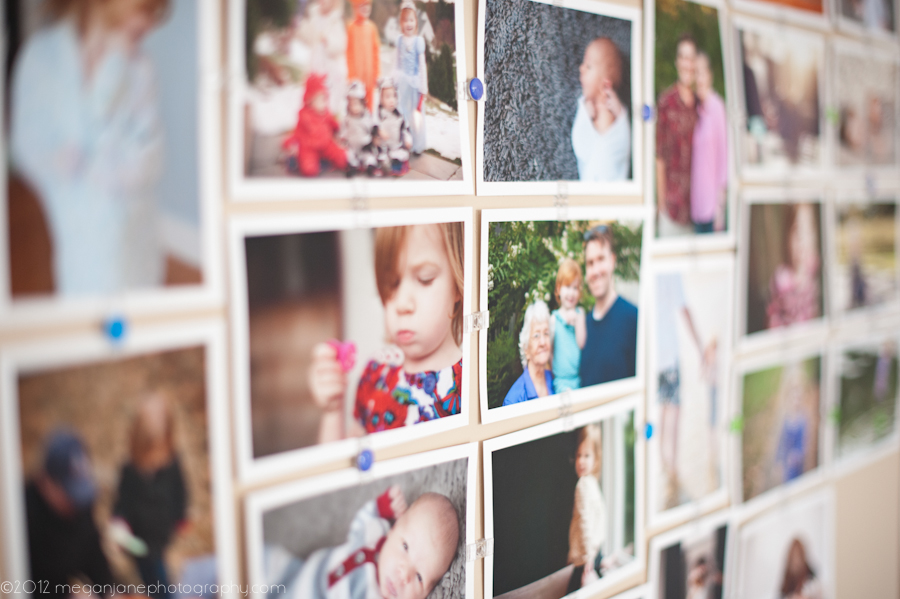 That’s about it! Once I clipped all of the strips together, I thought it looked too square, so I added another row on either side. I knew I would be adding the canvases of the kids also, to balance out the busyness of the collage. The canvases are 20×24 in size, and I purposely went for images that had simple backgrounds and had colors in them that would contrast the sandy-beige playroom walls. And there you have it!
 Sooo happy I can cross this off my list this month. Next up, the living room. It needs lots of help. Feel free to email or ask questions in the comments if you have any!

God Meg – how wonderful!!!! I always check in when I have absolutely had enough at work and need a little distraction and a smile — you never disappoint!!! Looks like you are all well and happy!! Keep up the good work. Charlene
Super cute! I really love the 4×6 idea.
That looks awesome :)! I am now following you on Pinterest too :)!
Okay. This is the GREATEST thing I’ve seen all day. I love it!! I need it!! Thanks for nudging me to print my photos and do something awesome with them. 🙂
i LOVE this! & same here, i want to print mas & be creative too! Gotta love Pinterest 🙂
Looks absolutely stunning 🙂 .. I have a Q. If you aren’t framing photos and just hanging them like this how like do they look fresh ?. I mean do they attract the dust over a period of it. How do you manage the dust that settles on them ?.
Hi Kavya! I will dust them if they need it w/ one of those static duster things (like a feather duster, but “better”?) – however, they don’t seem to get very dusty. The one “con” I’ve found to this arrangement is that I don’t feel like changing out the photos very often, it can be a bit time consuming. I’m now thinking about installing a cork board the length of the wall, and using pushpins between the photos, to eliminate the clip aspect of it. Thanks for reading and reaching out! 🙂